
How to use the flower harvest
Planning my response
The weatherman’s prediction for Saturday evening is 30°. Oh no, first frost! Immediately, the mental inventory commences, and the To-Do list extrapolates. That’s probably a good thing too as the activity dulls the anticipated grief over the loss of garden flora to the ravages of Jack Frost.
- First, what do I not need to be concerned about? The Swiss Chard and Kale, the cabbages and my Shasta Daisy will all survive just fine. No worries there.
- What tender veggies do I need to harvest at the last minute? I think there are a few yellow beans on my wife’s Monte Gusto climbers. Sure enough, plenty for supper.
- Are there some of these beautiful flowers that I should try to cover to protect them from the frost? The two big potsful by the walk are good candidates for that.
- Oh, and I almost forgot to bring the pot with the gerbera daisy inside. And this is a good time to get those potted amaryllis into the cellar too.
- After that, it’s time for the annual frenzy of flower harvesting and arranging. My beautiful row of zinnias and my scattered marigolds are the prime candidates, along with some prize dahlias, the most frost sensitive of all.
Gathering
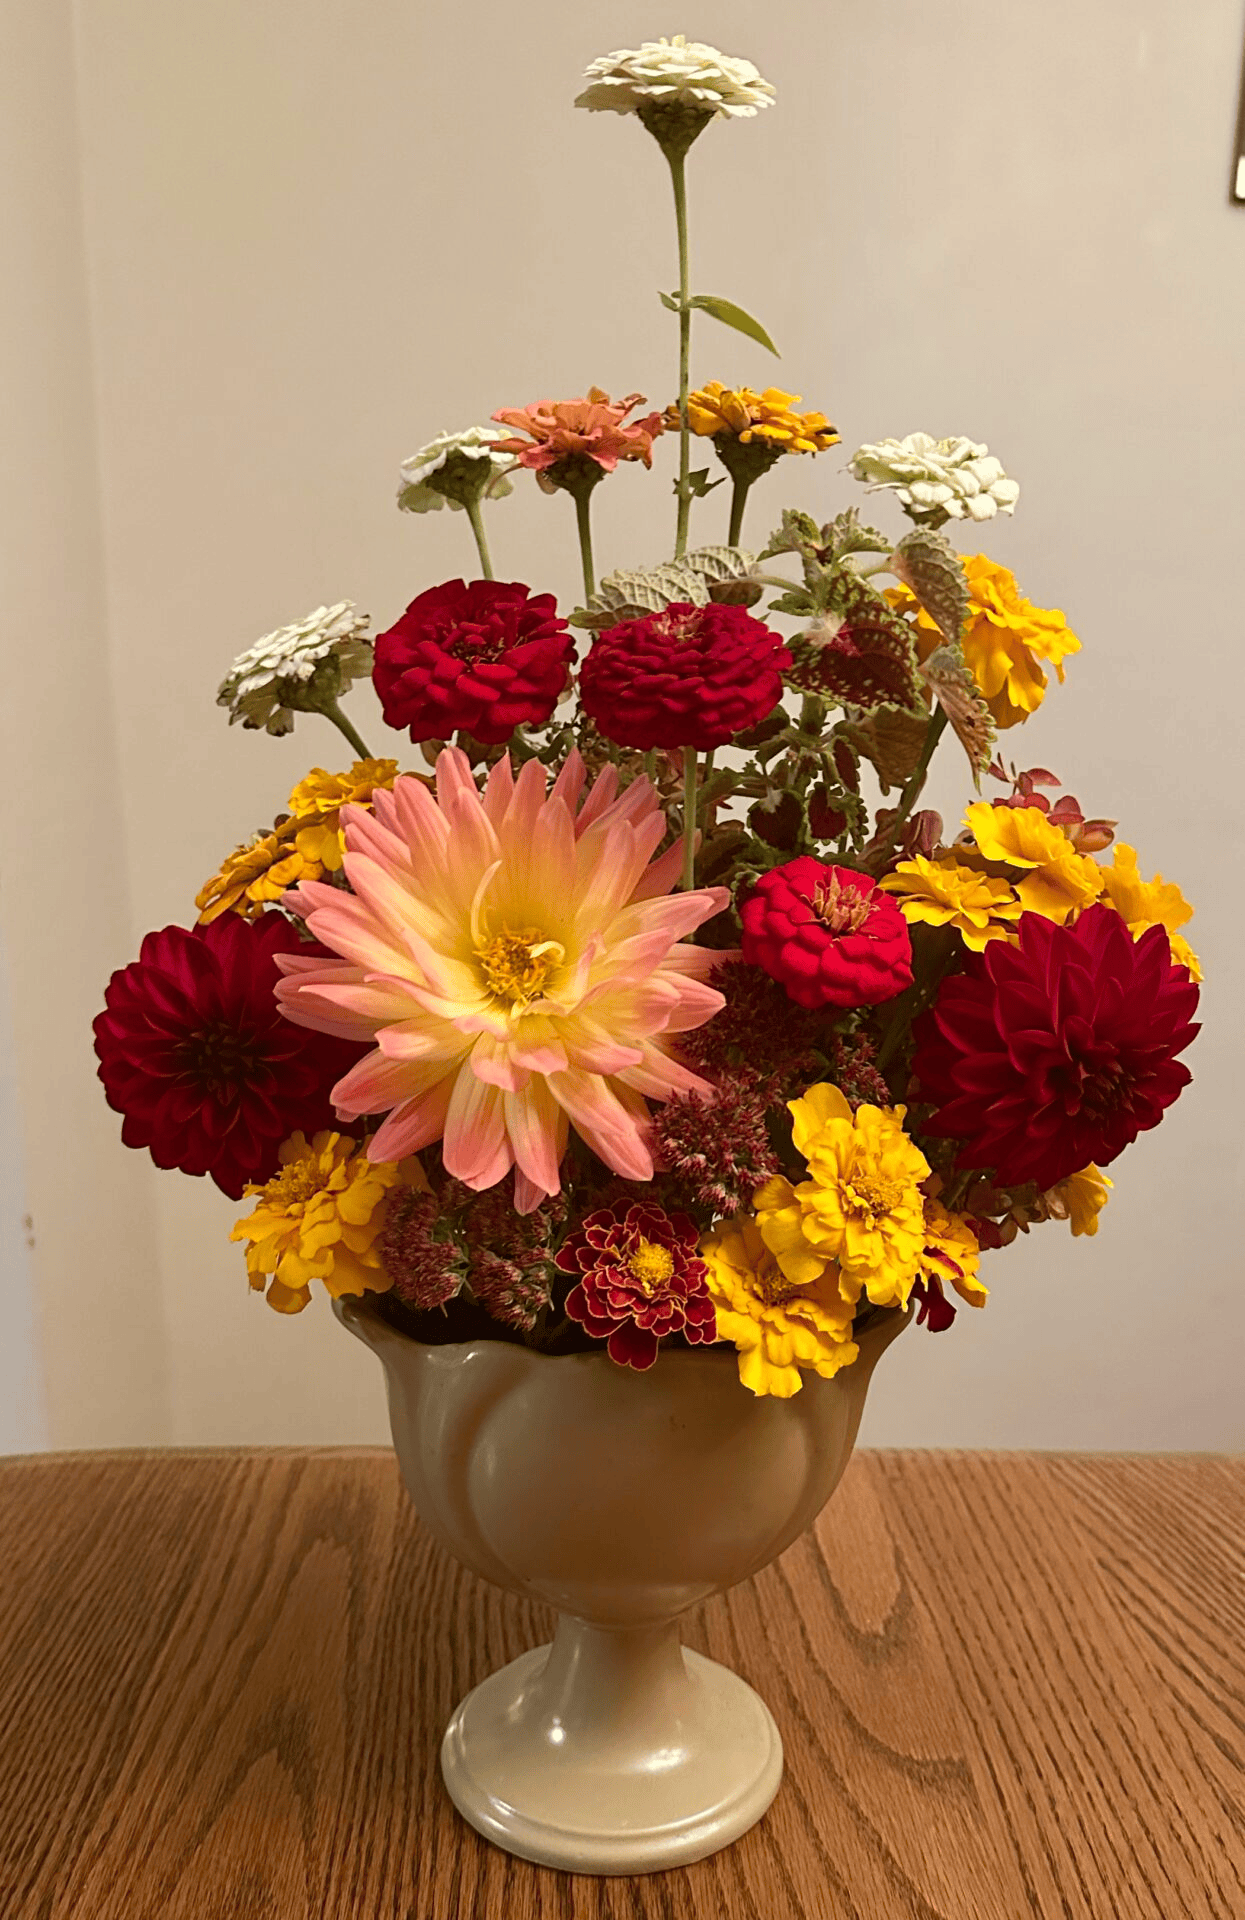
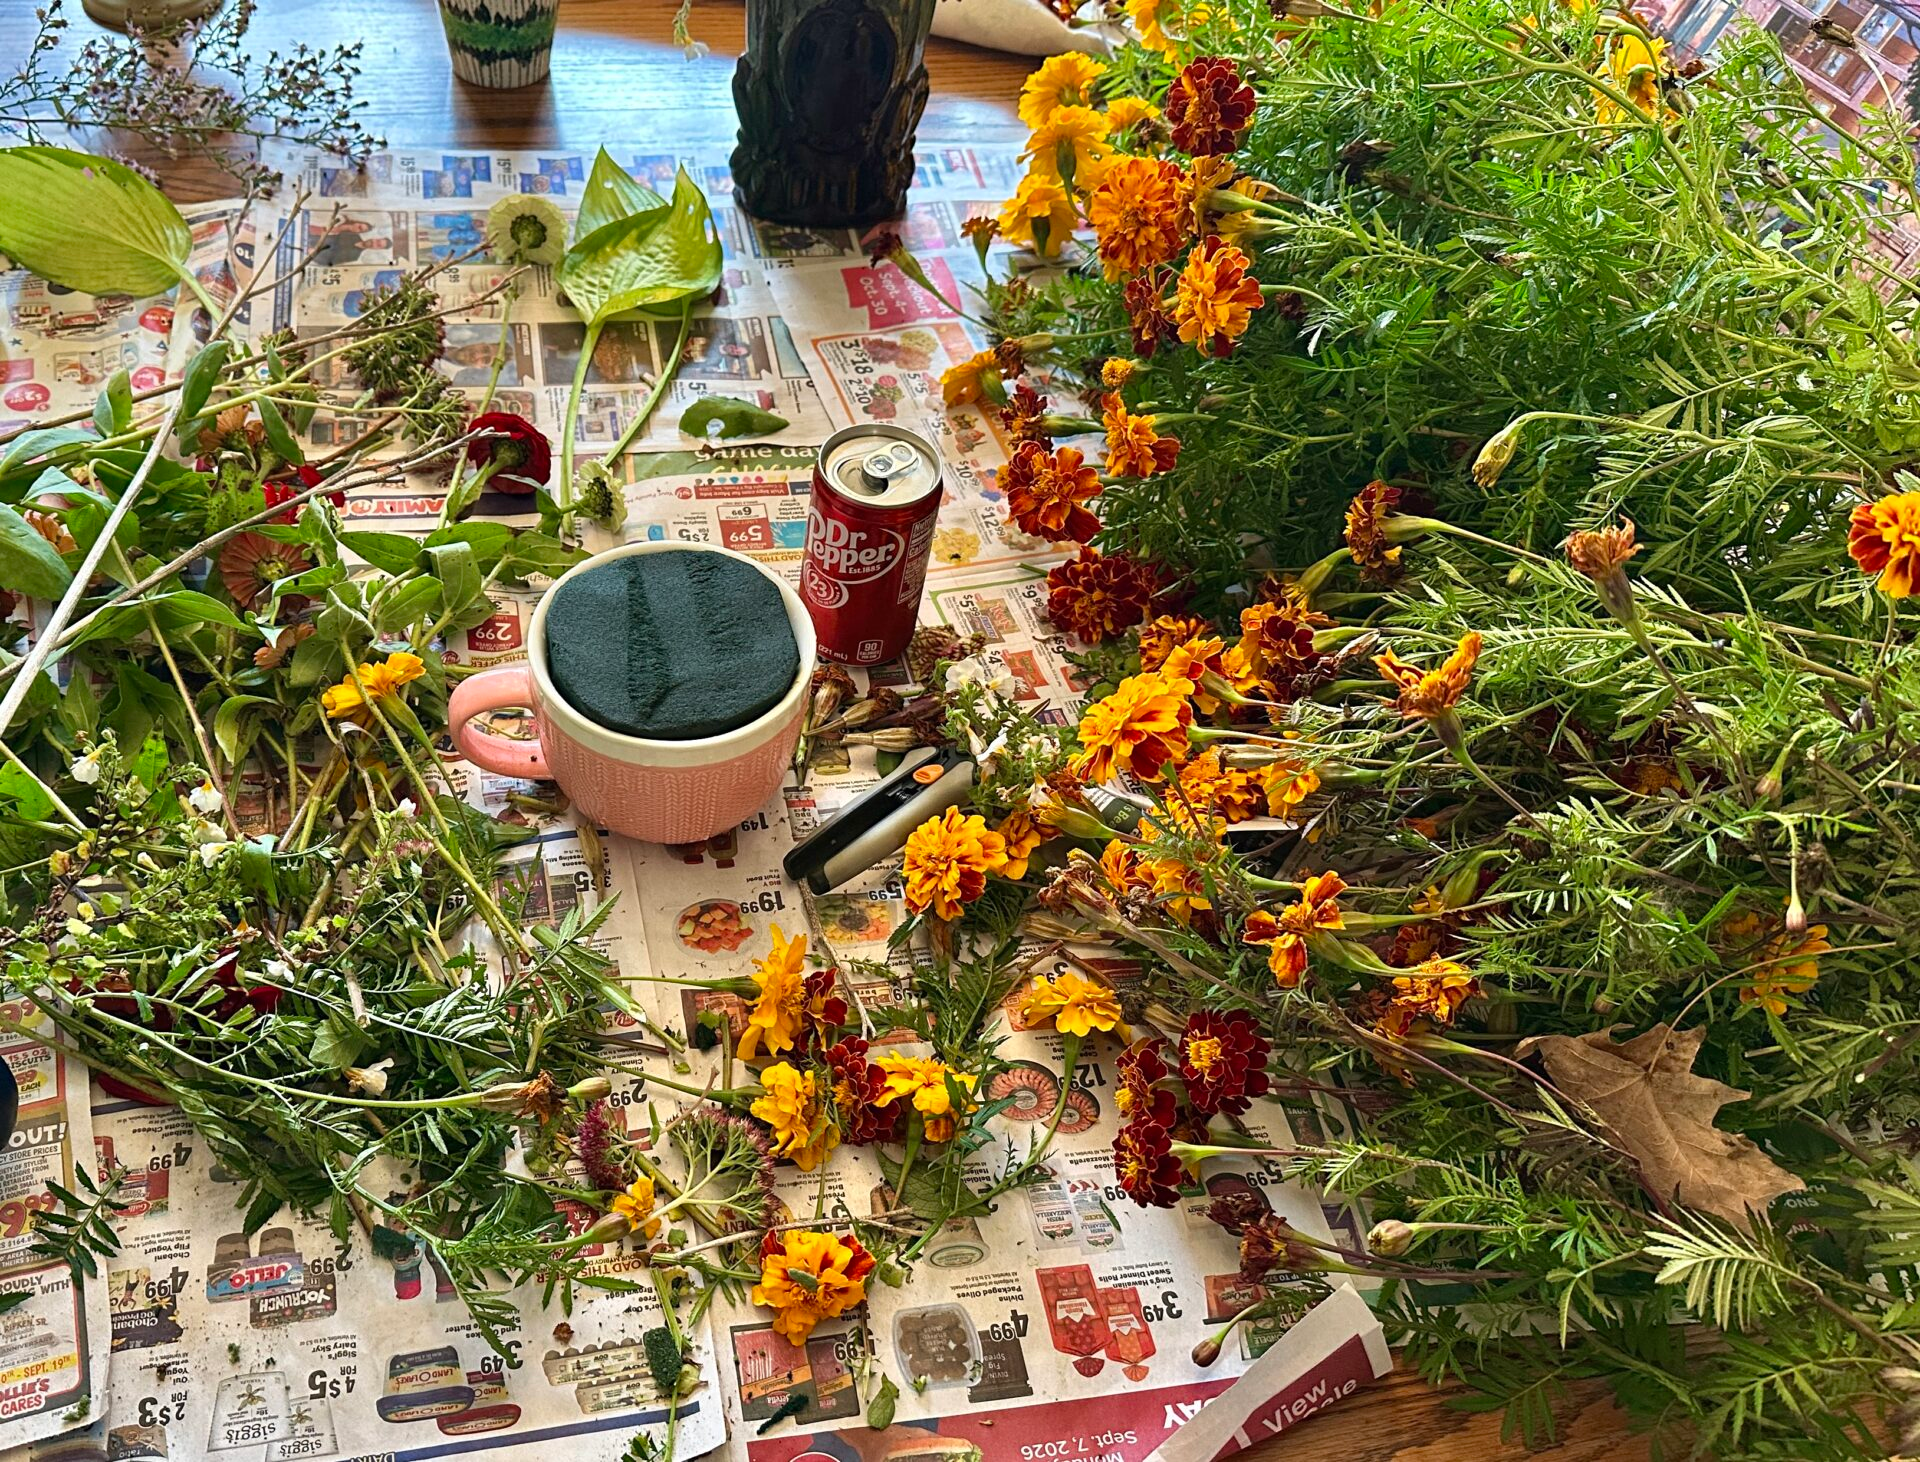
I clipped the best from the row of zinnias, keeping the stems long to preserve my options, and placed them in a five-gallon bucket bathed in about five inches of water. My marigolds were tall and plentiful this year, so I joyfully lopped off whole branches, carried them in the house and plunked them down on the newspaper-lined table. I was careful to collect some of the bright yellow-oranges, the variegated ones, and also the dark rusty ones for contrast.
Then, to make my bouquets interesting, I always pick some other things. I find something for background. This time it was partially dried Incrediball hydrangeas. I searched for accent pieces and found some beautiful dahlias and some stems of variegated coleus. Finally, I look for texture contrasts. A little sedum and this little stringy white stuff in my big pot will work.
Last, Grandma’s dried bouquets taught me to also prize the dried tops of old flowers. Seedpods from Japanese iris are perfect but the voles got all mine. This year I found some well-dried daylily scapes that I had neglected to compost and some Millenium onion globes. This kind of material characterizes a fall arrangement.
Choosing the pots
A great deal of the final beauty of the flower arrangements is in the pots that I use, so I choose carefully. The size needs to match the flowers. An arrangement should be about twice the height of the pot. (I don’t think that included the big handles on my Grandma’s antique glad baskets.) The bigger the pot, the more flowers it takes to fill it too. The color and design of the pot should not detract from or clash with the flowers. A loose bouquet might call for a clear vase but I will be using wet foam and will need opaque containers. This year I chose a two oval vases for front facing arrangements and two round ones for 360 degree arrangements. I put foam chips in the bottoms of the pots and then cut a piece for the top, filling in the corners if needed. I wet the foam prior to beginning.
The set-up
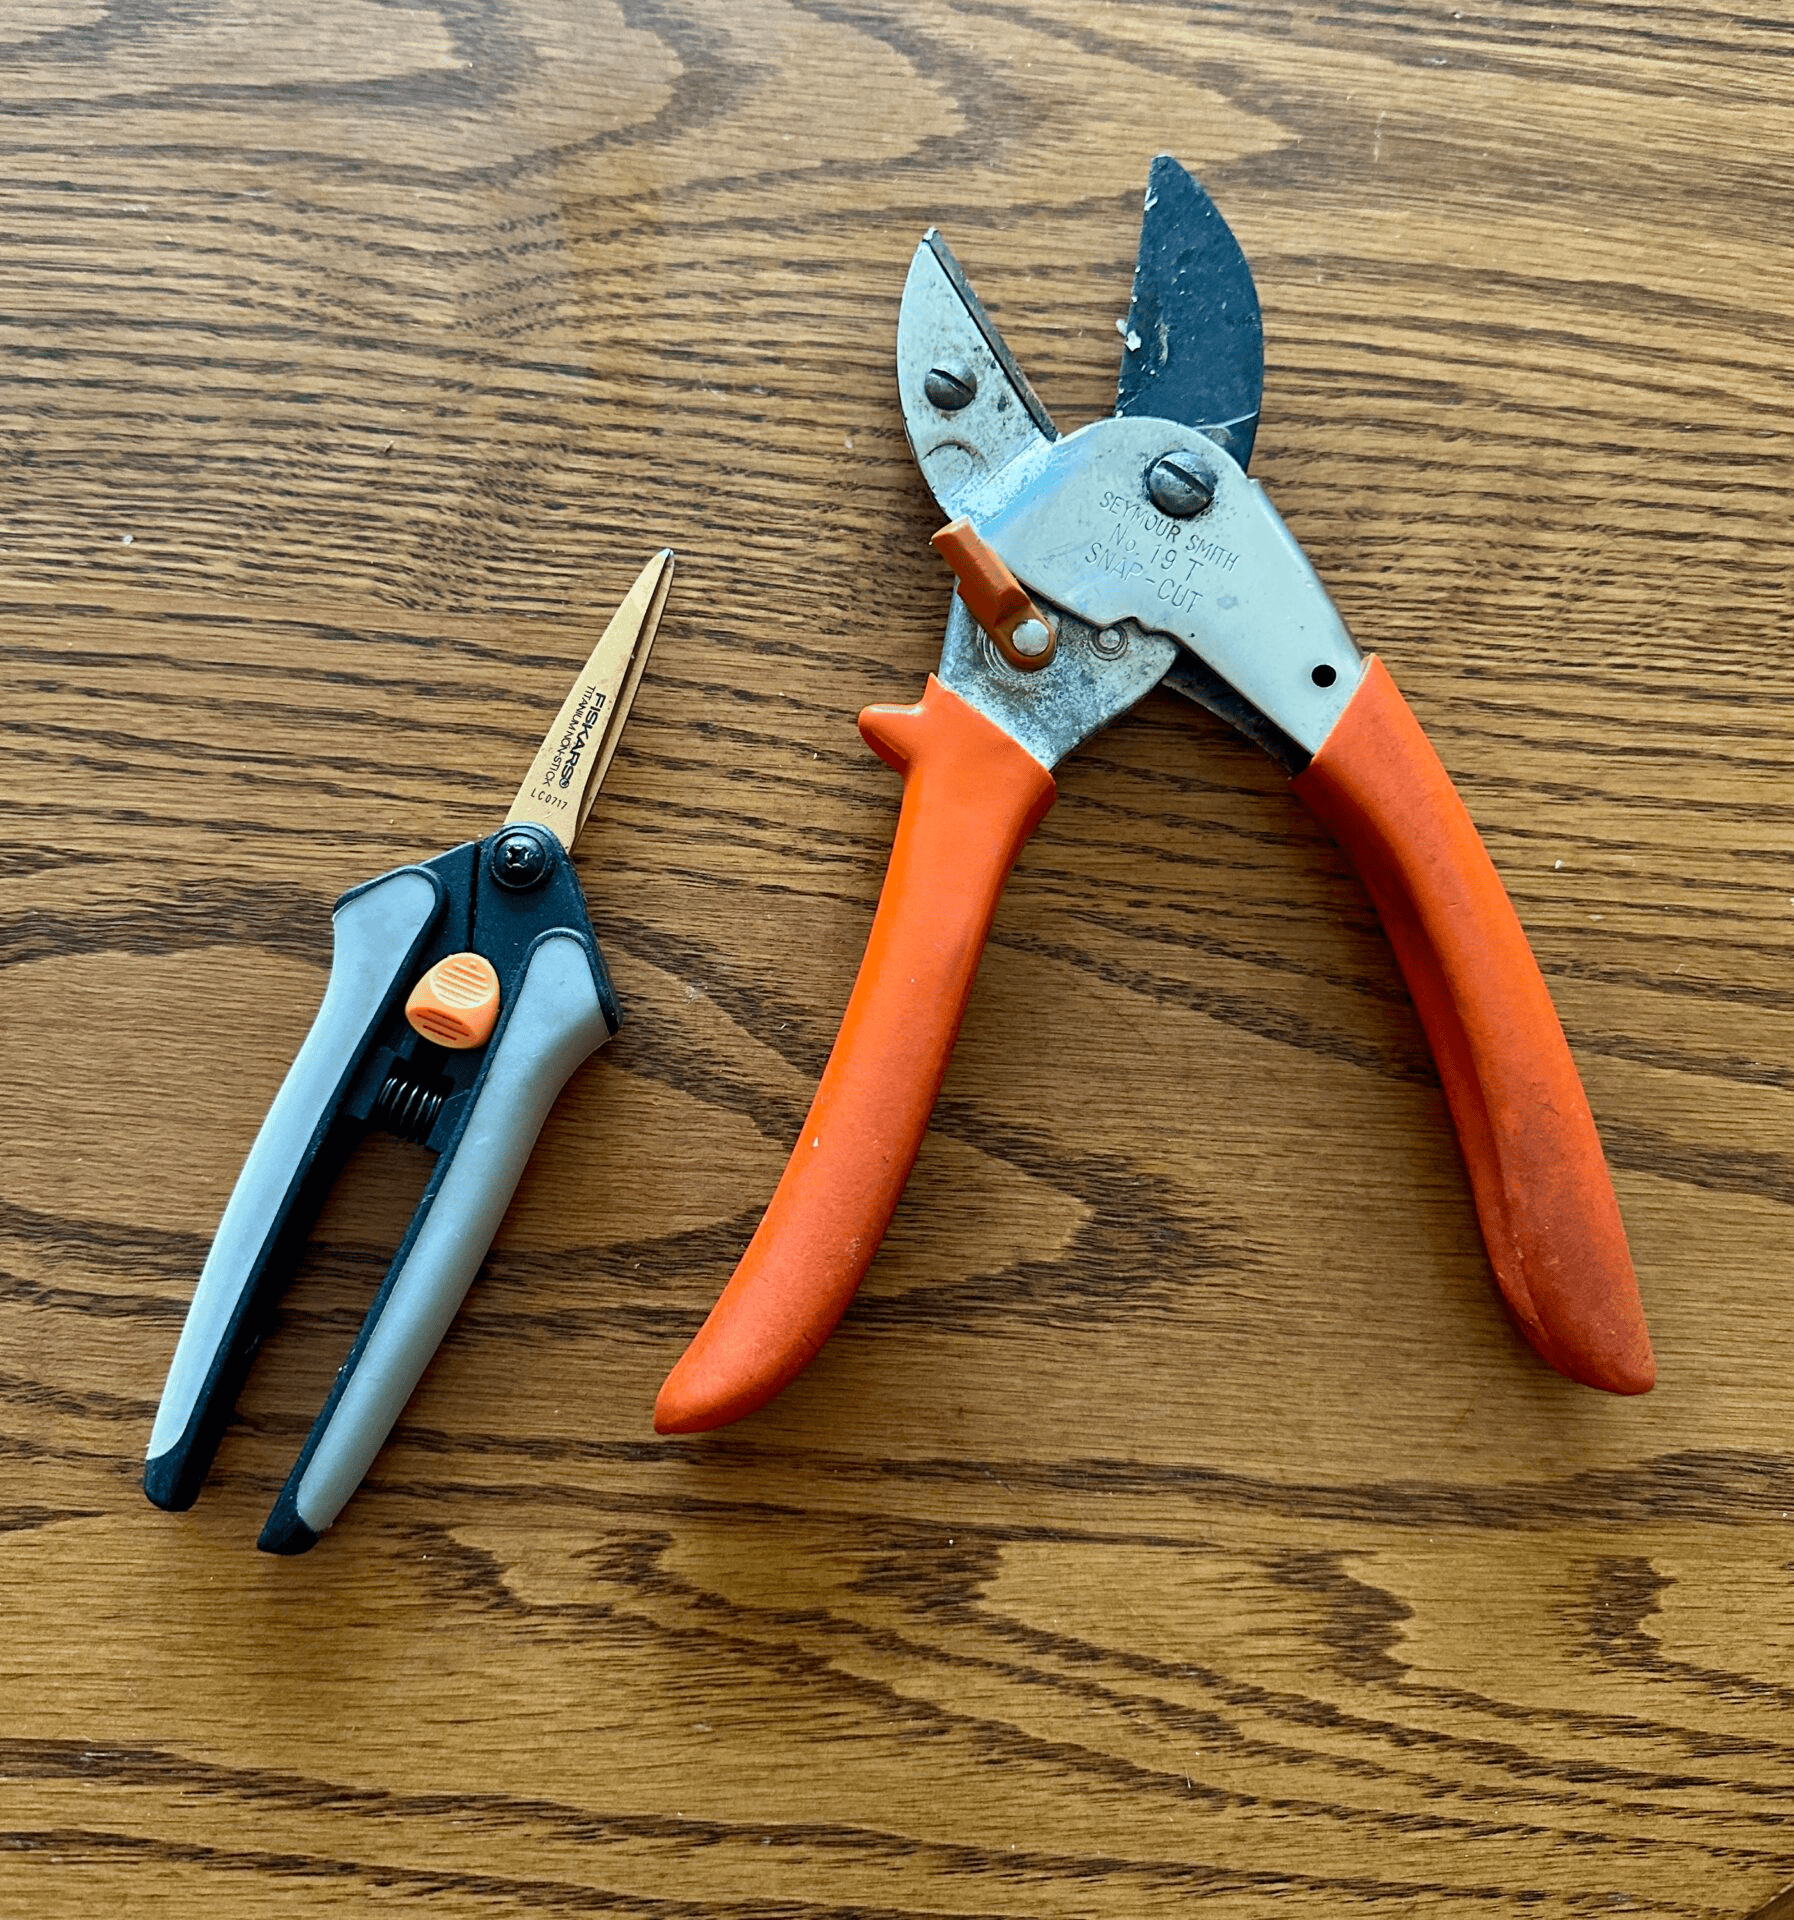
I have bigger garden clippers that I pick with, but for arranging, I mostly use my small scissors made for that purpose. They were recommended to me at the class run by local experts Sarah Oliver and Sheri Mandirola. Grandma always worked standing up at her basement counter, perhaps because she most often arranged large flowers like lilacs, gladiolas, delphiniums, phlox and large dahlias. But I’m usually working with smaller flowers. Cut-and-come-again zinnias and small marigolds are my staples. As a result, I prefer being seated at the table with a bucket positioned between my knees to catch most of the trimmings. For marigolds especially, way more will be trimmed away than will be used.
The fun begins
Front facing piece
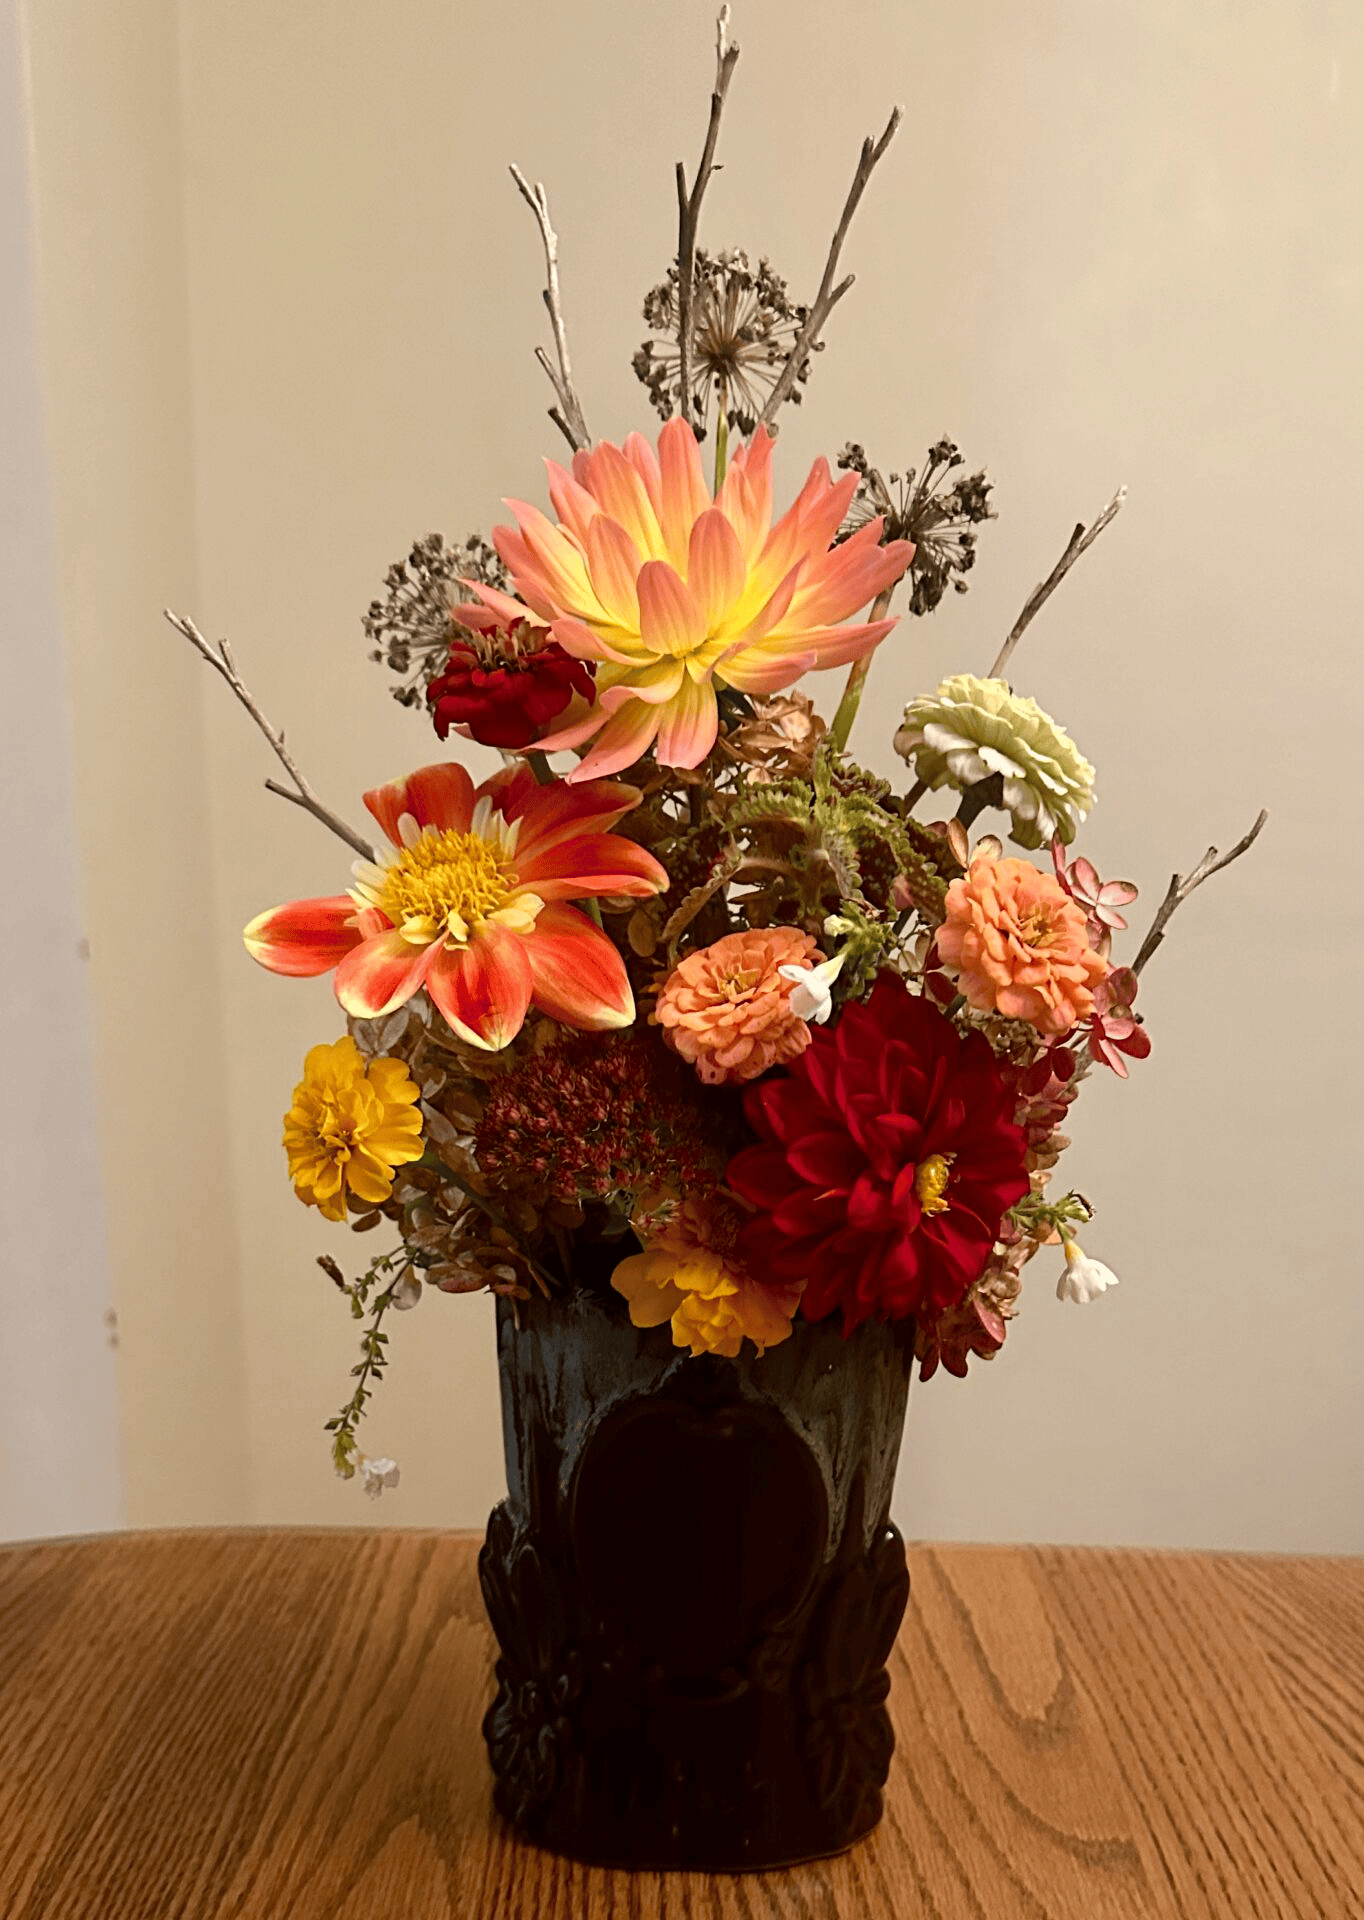
If people will only be looking at the front of an arrangement, I begin at the back with flora that provide cover and fill. I have used Hosta leaves, but this year I used Incrediball hydrangeas. I tend to like symmetry in such arrangements, so I spread three of them across in a tight fan, angling them slightly backward so they don’t consume too much front space. Then I begin to build the structure of the piece, one stalk at a time. I judge what flowers or dried material to use for a strong and appropriately tall center. Then I build out to the sides with gradually shorter flowers angled to fit the fan shape. I am usually using only two main flowers with a third one for accent. Colors vary depending on what is available. But including contrast is crucial. I try to include some white flowers to highlight the other colors. Once the basic shape is formed, I keep building toward the front with varied and shorter flowers. The artistic eye governs placement. Typically, I try to include something with a finer texture as well. When I am nearly finished, I watch for “holes”-spaces where it looks like there should be something and then I supply it.
360 degrees
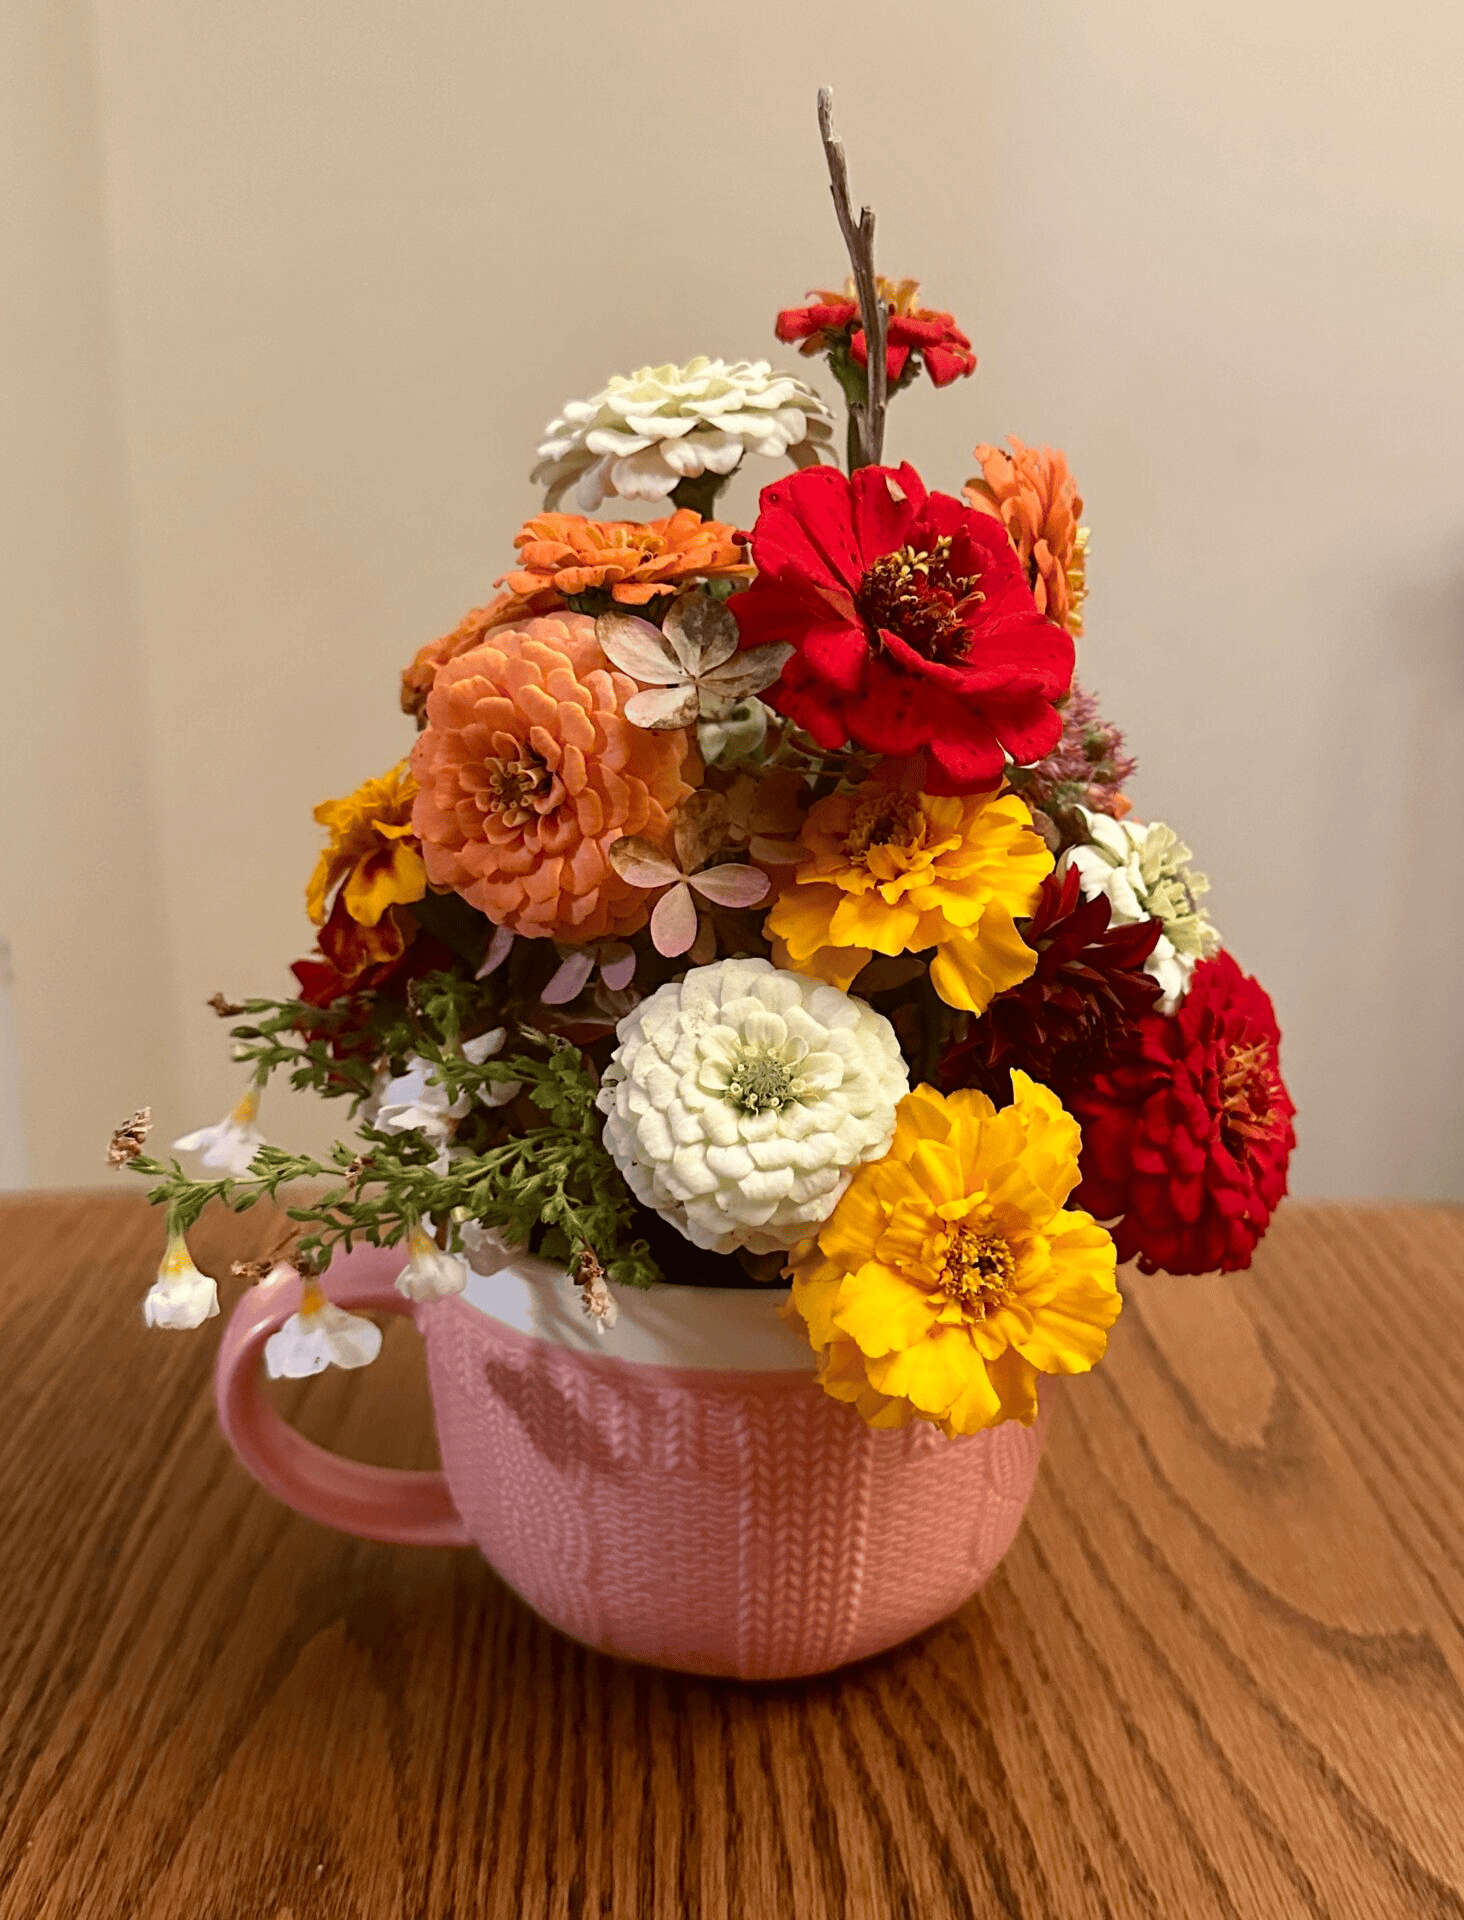
For a round vase which might serve as a table centerpiece and be viewed from various angles, the approach is different. I begin in the center, creating the high point first, hopefully reaching about twice the vase height. Then I build out with slightly shorter flowers next to the center. The goal is to create either a cone shaped or a ball shaped bouquet as I go. I turn the vase after the addition of each flower or two so that I work evenly around the circle. The flower one picks from the table seldom fits the spot you are looking at. Rather than looking for another flower all the time, I look for the place that flower will fit. Finding that spot is part of the art. As I near the edge, I am using very short and tender flowers that can’t really puncture the wet foam in the vase. So, I take a short length of hard stem trimmed off earlier and use it as a tool to pre-punch a hole in the foam for the tender bloom. If the pot has a protruding handle or spout, I might allow something in the bouquet to project in that direction too.
Enjoy
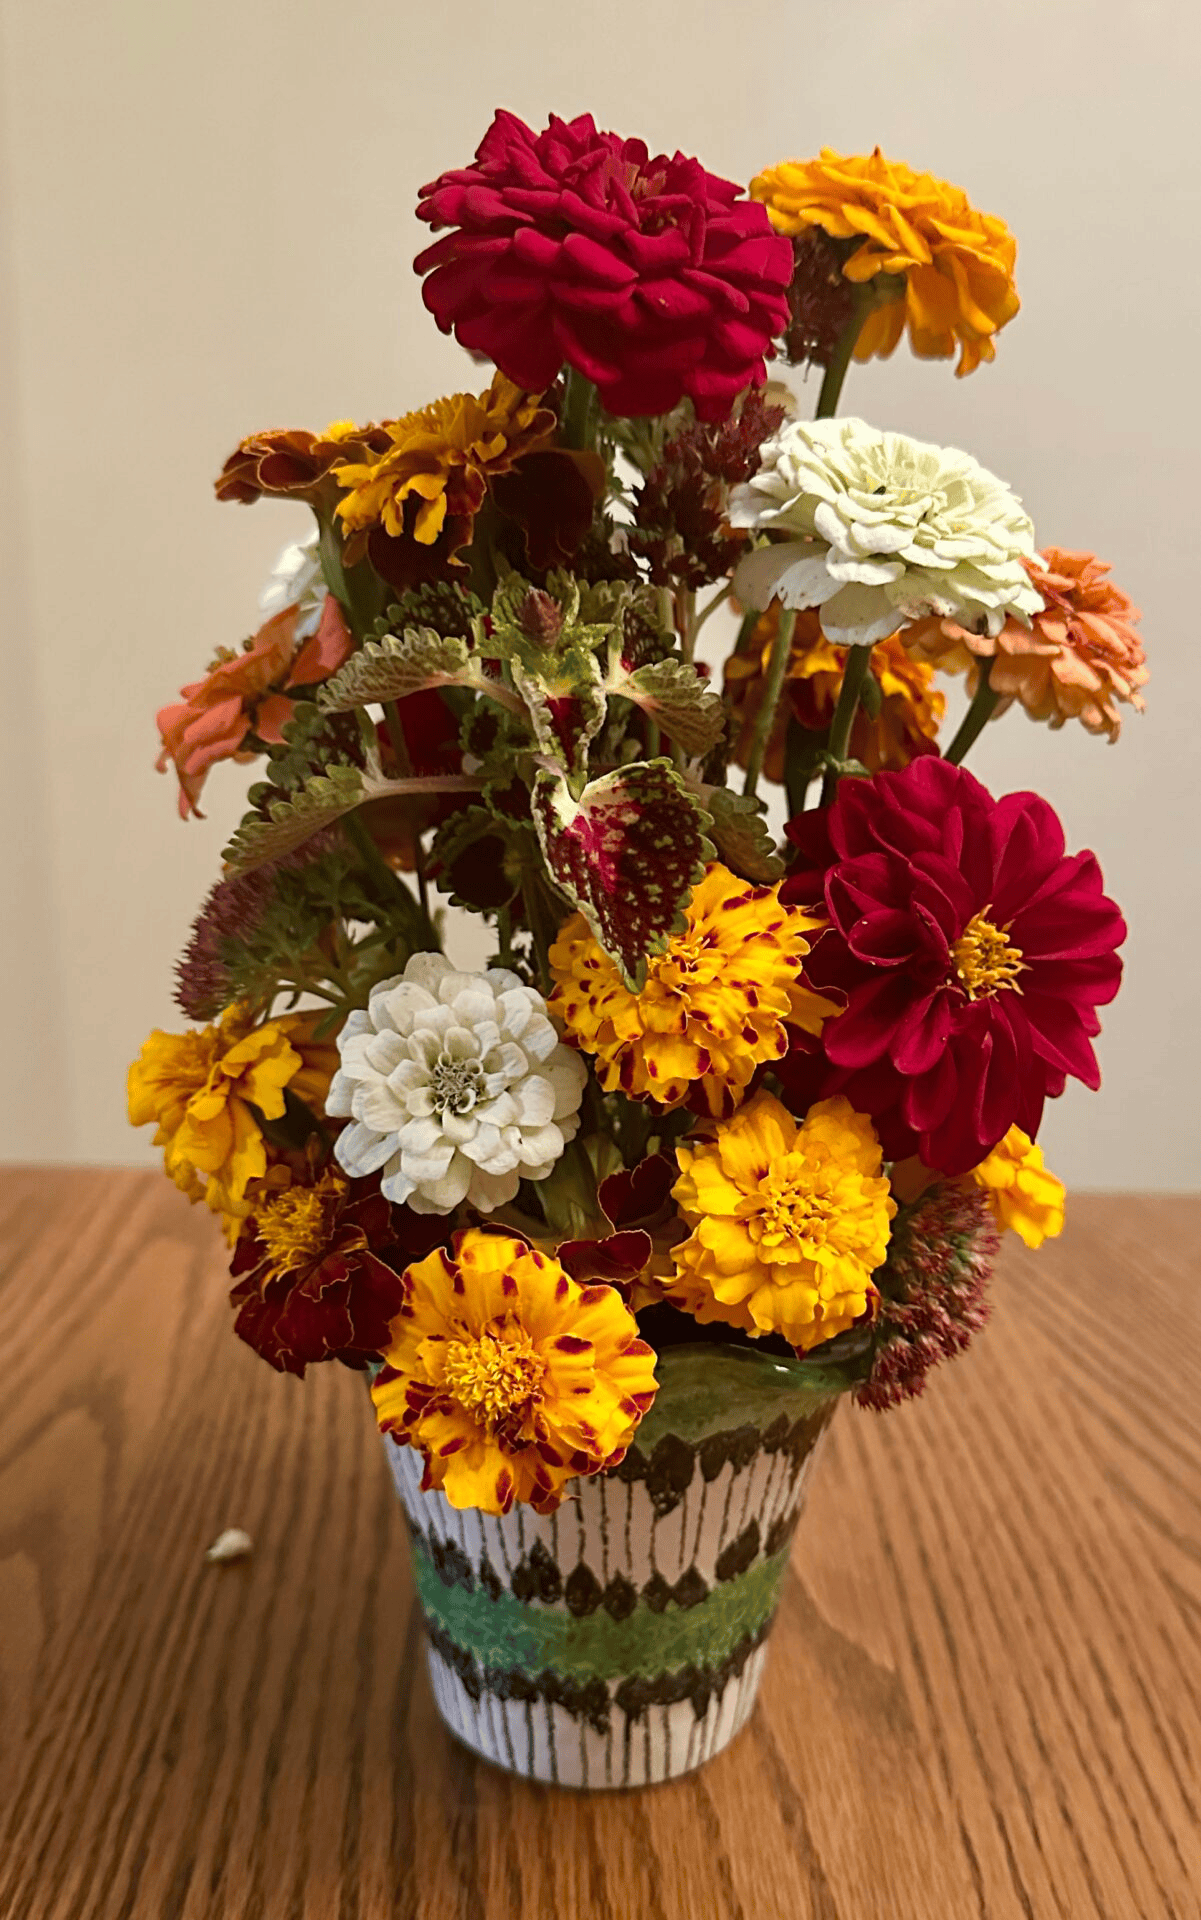
When I’m finished watering my creations again, I take pictures of them and place them in various rooms of our home so we can enjoy them. We get to appreciate the beauty of the harvested flowers for a little while longer.